
Did you know that water damage hits over 14 million homes in the U.S. yearly, costing about $9.1 billion? Fixing water-damaged paint can seem tough for homeowners. But, with the right steps and expert advice, it’s easier than you think.
FloodFixers is a top company in water damage restoration. They know how to fix water-damaged paint on walls, ceilings, and trim. Their experts suggest a step-by-step method for fixing water-damaged paint. This way, you get a lasting and good-looking fix.
Key Takeaways
- Water damage can cause paint issues like staining, blistering, and mold growth.
- To fix water-damaged paint, start with cleaning, remove loose paint, and seal and prime the surface.
- Using a filler and sanding is key before you repaint.
- Getting help from a pro like FloodFixers can guide you and make sure it’s done correctly.
- Stopping water damage and mold is key to keeping your paint looking good for a long time.
Preparing the Surface for Water Damage Repair
Fixing water-damaged paint begins with getting the surface ready. This first step is crucial for a successful fix and stops future problems.
Clean the Affected Area
Start by cleaning the water-stained walls or water-damaged painted surfaces. Use a product like Selleys Sugar Soap and a damp cloth to get rid of dirt and grime. This makes the surface ready for the repair steps.
Remove Loose or Flaking Paint
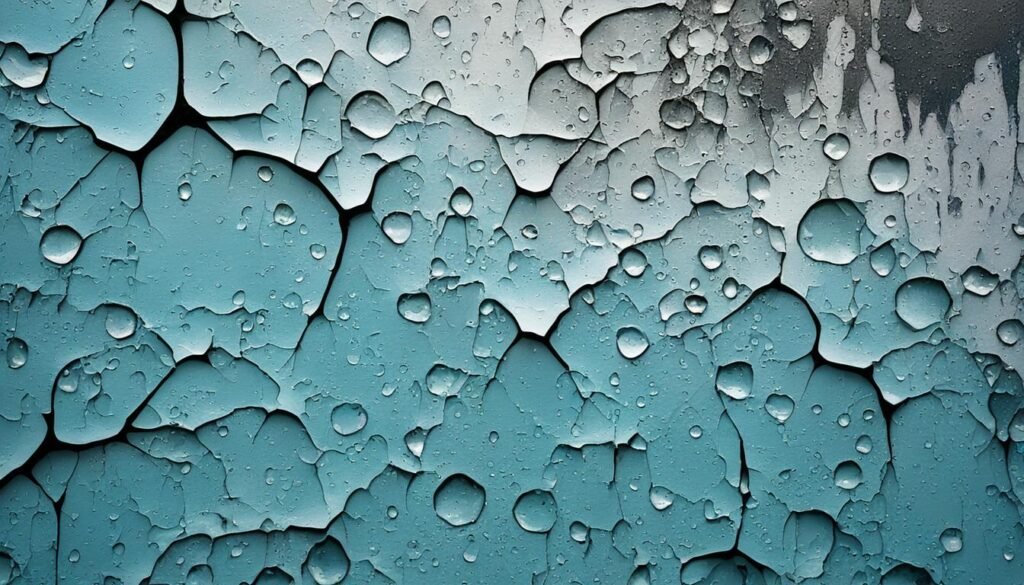
Then, remove any bubbling, peeling, or flaking paint with a scraper. This makes the surface smooth for fixing the water damage. Make sure to throw away the paint chips to stop mold prevention problems.
Getting the surface ready is key for fixing water-damaged paint. With these tips, you can confidently remove water blisters on painted surfaces and water stains from painted drywall.
“Proper surface preparation is key when it comes to reviving water-spotted painted surfaces and restoring water-damaged painted trim.”
– FloodFixers, leading water damage restoration for interior paint experts
Sealing and Priming the Surface
After cleaning and removing damaged paint, it’s time to seal and prime the surface. This step is key for a strong base under the new paint. It makes sure your interior walls look great and last long.
Apply a Filler and Sand
Use a product like Zinsser’s Water Based Peel-Stop to seal the surface. It acts as glue, stopping water from getting through. After drying, apply Selleys Polyfiller to smooth the area for painting.
Let the filler dry, then sand it until smooth. This step is vital for a good finish. It helps avoid more damage and stops mold from growing. Now, your surface is ready for painting, fixing water damage and spots.

“The key to a successful water damage restoration is to properly prepare the surface before applying the new paint. Skipping this crucial step can lead to future issues, like peeling or blistering.”
– FloodFixers, water damage restoration experts
how to fix water damaged paint
Apply Paint
First, get the surface ready. Use a top-notch, water-based primer/sealer like Berger Triple Prep for ceilings, walls, and trim. This step is key for the paint to stick well and last a long time.
For the top coat, FloodFixers chose Berger Everlast for walls and Dulux Snow Season Quarter for color. They also used Berger Water-based Enamel in Gloss for the trim. These paints and primers fix water damage and stop mold and mildew.
Fixing water damage on interior paint needs careful attention. Pick the right products and apply them correctly for a fresh look. This approach tackles water damage and keeps your paint safe for years.
| Product | Application |
|---|---|
| Berger Triple Prep | Primer/sealer for ceilings, walls, and trim |
| Berger Everlast | Final paint for walls |
| Dulux Snow Season Quarter | Wall color |
| Berger Water-based Enamel in Gloss | Final paint for trim |
Follow these expert tips and use quality products to fix water-damaged paint. You’ll get a beautiful, lasting finish that guards against future water damage.

Conclusion
Fixing water-damaged paint needs a careful plan for a lasting fix. This guide offers expert advice to tackle water stains and blisters on your walls. Always get help from pros like FloodFixers to avoid more damage or mold.
With the right prep and materials, you can make your water-damaged walls look new again. The key is to prepare the surface well, seal and prime it, and paint carefully. Following these steps ensures your walls look great and stay safe from water damage.
Water damage can be tricky, so it’s smart to ask experts like FloodFixers for help. They know how to fix water-damaged paint and make your place look amazing. With their advice and this guide, you’re ready to fix your painted surfaces.