
Did you know water damage is a big problem for electronics, causing nearly 30% of failures? It’s important to know how to fix this issue. This guide will show you how to fix a water-damaged computer. It will help you save your device and data.
Key Takeaways
- Immediate action is crucial to minimize water damage to your computer
- Proper disassembly and drying techniques are essential for successful repair
- Careful inspection and cleaning of individual components can help restore functionality
- Seeking professional assistance may be necessary for severe water damage cases
- Preventive measures can help you avoid water-related issues in the future
Immediate Steps to Take After Water Spill
If you’ve had a water or liquid spill on your how to fix water damaged computer, act fast. Quick action can stop the liquid from spreading and help you recover your device.
Turn Off and Unplug the Computer
First, turn off the computer and unplug it. This stops short circuits and protects the internal parts.
Remove External Components and Accessories
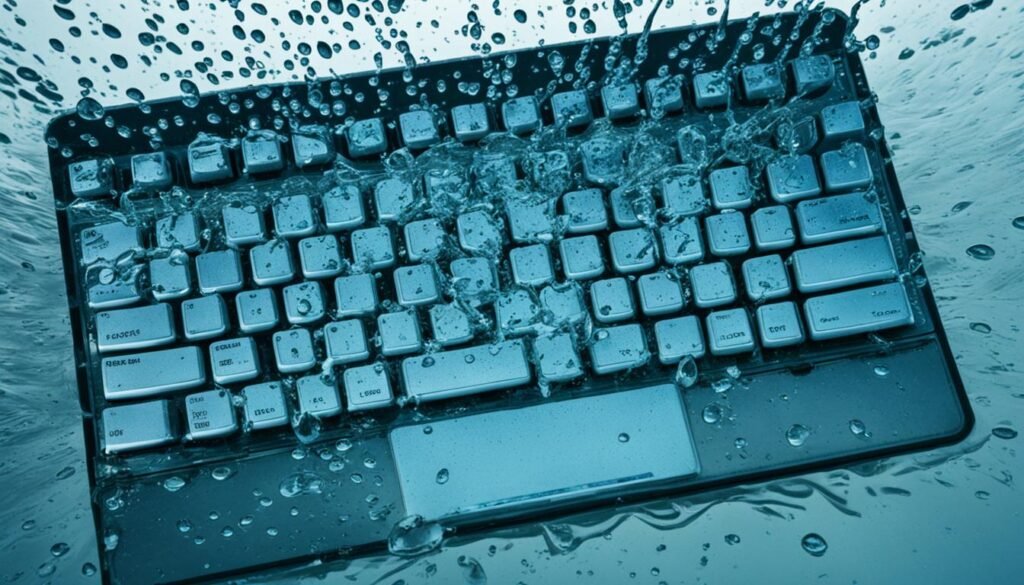
Then, take out any external parts like water damaged keyboard, USB drives, or mice. This helps you dry the main device safely.
Invert the Affected Area to Drain Liquid
Turn the device upside down to let the water spill on laptop drain. This stops the liquid from going deeper into the device.
Soak Up Excess Moisture with Absorbent Cloth
Use a cloth or towel to soak up any leftover preventing corrosion from moisture. Don’t wipe or rub, as it can push the liquid in deeper.
These quick steps can reduce damage and help your how to fix water damaged computer recover. Next, we’ll cover drying and taking apart the device.
Drying and Disassembling the Computer
After dealing with a water spill on your computer, drying it is the next step. You need to open the case for better air flow and take out the parts for drying. Doing this can help you fix your water-damaged computer and get back your important data.
Open the Case to Allow Air Drying
Start by opening the computer’s case or housing. This lets the inside parts breathe and dry out. Don’t use heat like hairdryers, as they can harm the electronics. Let the computer sit in the open air for 24-48 hours before you try to turn it back on.
Remove Internal Components for Thorough Drying
Then, take out parts like the motherboard, RAM, and storage drives. This is key to drying each part well and avoiding damage. Put these parts in a place with good air flow to dry them out. It might take a few days, so be patient and wait until they are completely dry before putting your computer back together.
By following these steps, you can try to fix your wet electronics and dry out your computer. Remember, drying your device well is key for getting your data back and making sure it works for a long time.

how to fix water damaged computer
If your computer got wet, act fast to lessen damage and boost repair chances. First, turn off the device, remove accessories, and drain moisture. Then, it’s time to take apart and check each part.
Disassemble and Inspect Individual Components
Take apart your computer carefully, remembering where each piece goes. Look at each part like the motherboard, RAM, and storage drives for corrosion or damage. Make sure your workspace is clean and bright for a thorough check.
Clean and Remove Corrosion from Parts
Find any corrosion or residue on the parts? Use a cotton swab and isopropyl alcohol to clean it. Be gentle to avoid more damage. Clean all corrosion well, making sure parts are ready for reassembly.
Air Dry Thoroughly Before Reassembling
Let the cleaned parts air dry fully before putting your computer back together. This is key to avoid more damage or issues. Keep them in a place with good airflow, but no direct heat, until they’re dry.
By doing these steps, you can try to fix your water-damaged computer and save your data. Remember, be patient and careful with water damage, as rushing can make things worse. If you’re not sure about fixing it yourself, consider a pro like FloodFixers to protect your device.

Conclusion
Fixing a water-damaged computer needs quick and careful steps to lessen the damage. This guide shows how to turn off the device, remove parts, dry it well, and clean each part. Doing these things can help you fix your water-damaged computer.
If the damage is big or you’re not sure what to do, getting help from a pro like FloodFixers (//waterdamagerepairmorenovalley.com/) is a good idea. They can help you fix your water-damaged laptop or other devices. With the right help, you might be able to use your device again.
Dealing with a water spill or a damaged keyboard on your electronics? Act fast and follow the right steps to fix it. Fixing your water-damaged computer saves you time, money, and the trouble of getting a new one.