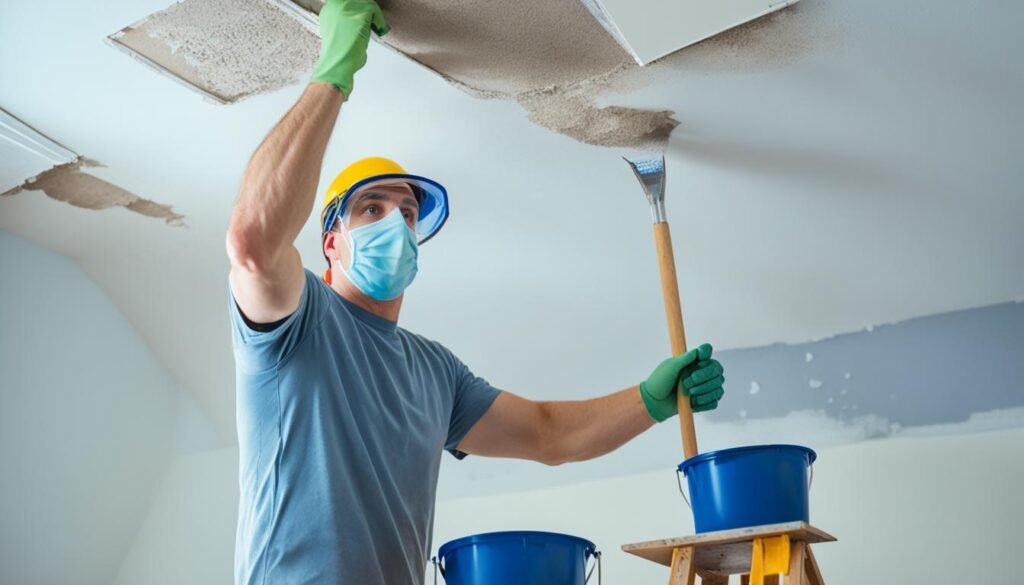
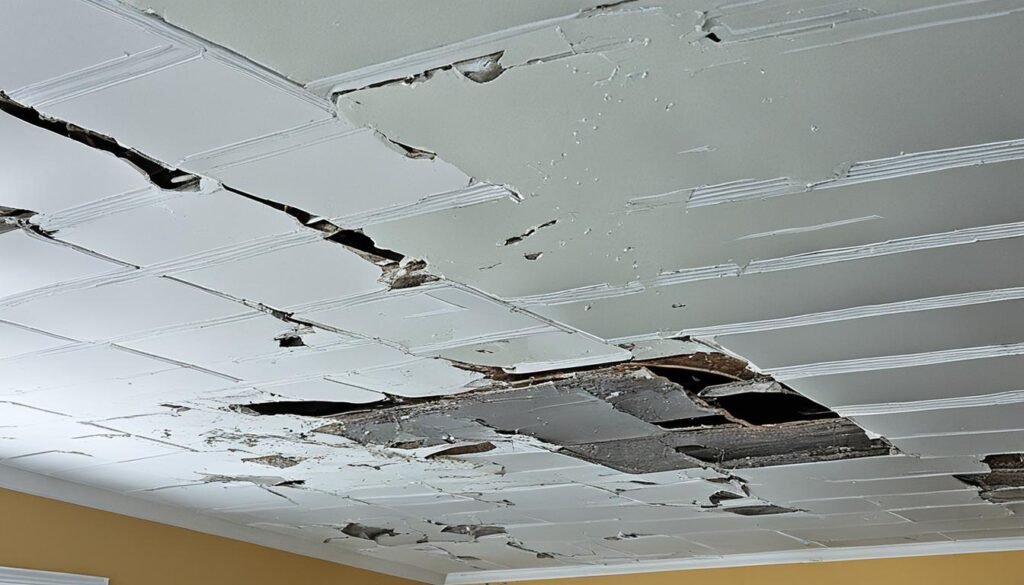
Did you know that water damage causes over 50% of all insurance claims in the U.S.? Fixing water-damaged ceilings fast is key to stop more damage and health risks. This guide will show you how to spot the signs, find the causes, and fix water-damaged ceilings, drywall, and plaster.
If you like doing things yourself or think you might need a pro, knowing how to fix your ceiling is important. We’ll talk about a great water damage repair service, FloodFixers, that can make things right for you.
Key Takeaways
- Quickly addressing water damage is crucial to prevent further issues
- Identifying the signs and causes of water damage is the first step
- Learn the step-by-step process to repair water-damaged plaster ceilings
- Drywall ceilings may require a different approach than plaster
- Professional water damage restoration services like FloodFixers can help
Identifying the Signs and Causes of a Water-Damaged Ceiling
Spotting early signs of water damage on your ceiling is key to fixing it fast. Watch for water stains, a sagging or bubbling ceiling, peeling paint or wallpaper, and a musty smell. Also, check for dripping water, which often means there’s a leak.
Visible Signs of Water Damage
- Water stains on the ceiling
- Sagging or bubbling ceiling
- Peeling paint or wallpaper
- Musty odor
- Dripping water
Common Causes of Water Damage
Leaks from roofs, plumbing, condensation, overflowing appliances, and natural disasters often cause water damage. Finding out what caused it is the first step to fixing it.
- Leaking roof
- Plumbing leaks
- Condensation
- Overflowing appliances
- Natural disasters
Stay alert and fix the cause of water damage to stop more damage and keep your ceiling safe.
“Catching water damage early can make all the difference in the world when it comes to the repair process and cost.”
– Expert Contractor
How to Fix Water Damaged Plaster Ceiling
Fixing a water-damaged plaster ceiling needs a careful plan and the right tools. By following a step-by-step guide, you can fix the issue and make the ceiling look new again. Let’s look at the steps.
Materials and Tools Needed
Before starting the repair, collect the needed materials and tools. You’ll need:
- Plaster patching compound
- Plaster adhesive
- Trowel or putty knife
- Utility knife
- Sandpaper (various grits)
- Paint and primer
- Safety gear (goggles, gloves, mask)
Step-by-Step Repair Process
To repair a water-damaged plaster ceiling, follow these steps:
- Assess the Damage: Check the ceiling to see how much water damage there is. Find any plaster that’s loose or crumbling and needs to be removed.
- Remove Damaged Material: Cut away any loose or damaged plaster with a utility knife. Be careful and wear safety gear to protect yourself from falling pieces.
- Dry the Area: Make sure the area is dry before you start fixing it. Use fans, dehumidifiers, or other drying tools as needed.
- Patch and Seal: Put plaster patching compound on the damaged spots. Use a trowel or putty knife to smooth it out. Let it dry as the maker says.
- Sand and Smooth: After it’s dry, use sandpaper to make the surface smooth. Blend it well with the rest of the plaster.
- Prime and Paint: Apply primer to the fixed spots, then paint the whole ceiling to match the rest.
Always follow safety rules and work in a place with good air flow. By doing these steps, you can fix a water-damaged plaster ceiling and make your home look great again.

Repairing a Water Damaged Drywall Ceiling
Fixing a water-damaged drywall ceiling is similar to fixing a plaster ceiling but has some differences. First, remove any damaged drywall. Then, dry the area well. Next, use joint compound and drywall tape to seal the spots.
After that, sand the area smooth. Finally, apply primer and paint to match the ceiling.
Before starting the repair, find and fix the water damage’s cause. This could mean fixing leaks, improving ventilation, or solving other problems that caused the damage.
Preparing the Damaged Area
Begin by cutting out any loose or damaged drywall with a utility knife or drywall saw. Make sure to cut cleanly and avoid harming the nearby areas. After removing the damaged section, dry the exposed framing and drywall with a fan or dehumidifier.
Patching and Sealing the Damaged Area
- Put joint compound on the damaged area and smooth it with a putty knife or drywall knife.
- Put drywall tape over seams and cracks to strengthen the repair.
- Add more joint compound layers, letting each dry before sanding the area smooth.
Priming and Painting
Once the area is smooth and dry, prime the repaired section. This ensures the paint sticks well and looks good. Then, paint the area with a color that matches the ceiling.
By following these steps, you can fix water damaged drywall ceilings effectively. Remember to wear protective gear and work in a well-ventilated area for a safe repair.

“Addressing water damage quickly is key to preventing more damage and safety risks.”
Conclusion
After fixing your water-damaged ceiling, it’s key to prevent future problems. Check your roof, plumbing, and appliances often to catch issues early. Good ventilation and leak detection systems also help keep your home safe from water damage.
If you’re not sure about fixing water damage yourself, get professional help. FloodFixers is a top choice for water damage fixes. They offer quick and dependable solutions to fix your property safely. Their experts use the latest methods and tools for a complete restoration.
Being proactive with your home and fixing water damage quickly can save you money and keep your ceiling and property safe. Regular checks and quick action are essential for your home’s long-term health.


